Fuse Box Quick Tap: Safe Troubleshooting Guide
Learn how to safely perform a fuse box quick tap, decide between DIY and professional help, and avoid common mistakes with expert guidance from FuseBoxCheck.

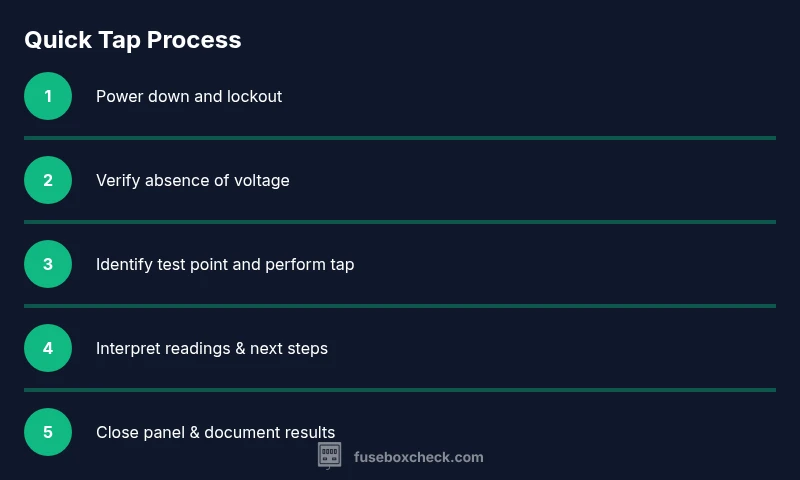
By performing a fuse box quick tap, you can safely verify circuit status and quickly pinpoint faults without unnecessary disassembly. This article explains when DIY is appropriate, outlines essential safety precautions, and provides a clear, step-by-step process you can follow with confidence—minimizing risk while improving your electrical safety for peace of mind.
What a Fuse Box Quick Tap Is (and isn't)
A fuse box quick tap is a controlled, preliminary check used to verify whether a circuit is energized and to spot obvious faults without replacing components. It is not a substitute for formal electrical testing, nor a method to bypass safety devices. According to FuseBoxCheck, safe tapping relies on using appropriate testing tools with the panel de-energized and components properly identified. In many homes, a quick tap serves as a first step before deeper diagnostics or circuit tracing. The goal is to reduce guesswork and guide your next steps—DIY vs. professional help—while maintaining safety. This section sets the boundaries and highlights what you can reasonably accomplish with the right precautions.
When to Use a Quick Tap: Situations and Boundaries
Use a fuse box quick tap when you need a fast sanity check to confirm whether a circuit is energized after you’ve locked out power, or to verify a suspected fault before performing more invasive tests. It is inappropriate on a live panel, for bypassing safety interlocks, or to draw conclusions about component health without formal testing. Keep in mind that a quick tap is a screening step, not a replacement for professional diagnosis for complex electrical faults. This understanding helps you decide whether DIY steps are appropriate or if contacting a licensed electrician is the safer choice.
Safety First: Gear, Lockout, and Prep
Before touching a fuse box, gather PPE and set up a safe workspace. Wear insulated gloves, safety glasses, and non-slip footwear. Have a non-contact voltage tester and a digital multimeter ready, plus insulated tools. Make sure the area is dry, the panel is clean, and you have adequate lighting. If someone else could turn the power back on, communicate clearly and use a lockout/tagout procedure if available. FuseBoxCheck emphasizes that preparation reduces risk and helps you interpret results correctly. A proper prep cycle also lowers the chance of accidental contact with live components during testing.
Tools & Safety Precautions Before You Start
Your toolkit should include: insulated screwdriver, insulated pliers, voltage tester (non-contact), multimeter with appropriate setting, LED flashlight, label tape, and safety gloves. Check the tester’s function on a known live circuit beforehand to ensure accuracy. Remove jewelry and wear rubber-soled shoes. Place the panel cover on a dry surface when removing it, and avoid touching metal parts. Keep a clear path to the exit in case of an unexpected shock. Handling these items with care reduces shock risk and helps you stay within safe testing parameters.
How to Read the Fuse Box Quick Tap: What to Look For
During a quick tap, you’ll verify that power has been isolated and identify the correct fuse or breaker for testing. You’ll look for clear indicators: a visibly open circuit, a tripped breaker, or a fuse showing signs of discoloration or damage. The goal is to confirm status without forcing components open or tampering with safety devices. Document any unusual signs (burn marks, buzzing, or heat) and plan your next steps accordingly. If readings are unclear or inconsistent, escalate to a professional evaluation.
Interpreting Readings and Next Steps
If readings show no voltage after proper lockout, you have a green light to proceed with more detailed diagnostics, or to reassemble and continue your work after re-energizing safely. If a tester shows unexpected live voltage, stop immediately and reassess the safety of the environment. Always compare results to the panel’s labeling and the wiring diagram inside the cover. When in doubt, treat the situation as potentially hazardous and contact a licensed electrician for a thorough assessment. This careful interpretation reduces the risk of arcing or shock during subsequent work.
Pro Tips for DIY vs When to Call a Pro
For routine checks and basic diagnosis, a well-prepared DIY approach can save time and money. However, if you see signs of overheating, hear buzzing, notice burnt smells, or the panel is old or unfamiliar, it’s prudent to stop and call a pro. FuseBoxCheck recommends prioritizing safety over speed and using professional electrical services for complex fixes or disputed readings. Keeping a clear plan and using documented steps helps you decide when to escalate care.
Maintenance and Safety Reminders
Regular, simple maintenance—like keeping the panel clean, labeling circuits, and updating documentation—helps prevent confusion during quick taps. Schedule periodic reviews of your electrical panel’s health and stay aware of local electrical codes and safety requirements. When you document test results and visual signs, you build a useful safety history for future maintenance. Always store testing tools in a dry, accessible place and replace any worn components promptly to maintain accuracy and safety.
What FuseBoxCheck Recommends
FuseBoxCheck emphasizes a risk-managed approach: explain the procedure, wear PPE, and never bypass safety devices. If you encounter uncertainty, the safest path is to pause testing, recheck safety steps, and contact a licensed electrician. The goal is to empower homeowners with practical, conservative guidance that minimizes hazard while enabling informed decisions about next steps.
Tools & Materials
- Insulated gloves(Category II or better; ensure proper size)
- Non-contact voltage tester(Test the tester on a known live source first)
- Digital multimeter (DMM)(Set to appropriate voltage/continuity range)
- Insulated screwdriver set(Flathead and Phillips, insulated for electrical work)
- Safety glasses(Protection for eyes from arcs or debris)
- LED flashlight or headlamp(Ensure good visibility in the panel area)
- Label tape and marker(Label circuits and test points for future reference)
- Rubber-soled shoes or anti-slip mat(Reduce risk of slips near water exposure)
Steps
Estimated time: 25-40 minutes
- 1
Power down main disconnect and apply lockout
Turn off the main disconnect and apply a lockout/tagout if available. Confirm that downstream circuits are de-energized using a voltage tester. This step prevents accidental energization during testing.
Tip: If you cannot access the main disconnect, do not proceed. Arrange temporary area protection and seek professional help. - 2
Verify absence of voltage with tester
Use a non-contact tester to verify there is no voltage at the panel exterior and at test points you will touch. Validate the tester with a known live source to ensure accuracy.
Tip: Test the tool on a known live source first to confirm it works before relying on it. - 3
Remove panel cover safely
Loosen and remove the panel cover while keeping your hands away from bus bars and terminals. Place the cover in a safe, dry area to avoid contact with live parts.
Tip: Support the cover with one hand as you work to prevent it from falling back into the enclosure. - 4
Identify the fuse or breaker to test
Visually locate the fuse or breaker you’re testing. Check the labeling inside the panel cover and confirm the circuit you plan to tap. Label it so you can return to it later.
Tip: If labeling is unclear, refrain from testing and consult the panel documentation or a pro. - 5
Perform the quick tap test
Gently contact the test point with the tester while keeping your other hand away from any metal surfaces. Use light, controlled contact to avoid damaging components.
Tip: Do not press hard or attempt to force current through components; keep contact minimal. - 6
Record readings and interpret
Note the reading and compare with expected values for the tested circuit. If the result is unclear, recheck your setup or proceed to a more thorough test with professional help.
Tip: Document the exact panel position, reading, and any anomalous signs. - 7
Close up and restore power
Reinstall the panel cover securely, remove lockout devices if used, and restore power. Verify that all circuits are functioning as expected and that the area is safe.
Tip: Take a photo of the panel for your records and future maintenance.
Your Questions Answered
What is a fuse box quick tap?
A fuse box quick tap is a safe, preliminary check used to verify circuit status and spot obvious faults without replacing components. It’s a screening step, not a substitute for formal testing.
A fuse box quick tap is a safe, preliminary check to confirm circuit status. It’s a screening step, not a replacement for formal testing.
Is it safe to perform a quick tap at home?
Safety depends on proper preparation and following lockout/tagout procedures. If you’re unsure or the panel shows signs of damage, stop and contact a licensed electrician.
Safety depends on preparation and following lockout procedures. If unsure, stop and call a licensed electrician.
What tools do I need for a fuse box quick tap?
Essential tools include insulated gloves, a non-contact voltage tester, a digital multimeter, insulated screwdrivers, and a flashlight. Have labeling tape for circuit identification.
You'll need insulated gloves, a non-contact tester, a multimeter, insulated screwdrivers, and a flashlight.
What should I do if the tester shows live voltage?
If you see live voltage, stop the test immediately, recheck safety steps, and consult a licensed electrician. Do not attempt further testing until safety is confirmed.
If you see live voltage, stop and call a licensed electrician.
When should I call a professional?
Call a professional if you notice burning smells, signs of overheating, a dated or uncertain panel, or ambiguous readings that you cannot resolve with basic checks.
Call a professional if you notice burning smells or overheating, or if readings are unclear.
Can I perform this on a car fuse box?
This guide focuses on residential electrical panels. Car fuse boxes use a different standard and should be handled with automotive electrical expertise.
This guide is for home fuse boxes, not car fuses.
Watch Video
Highlights
- Power down and isolate before testing
- Use proper PPE and insulated tools
- Document results and signs of damage
- Know when to call a pro
- Keep records for future maintenance